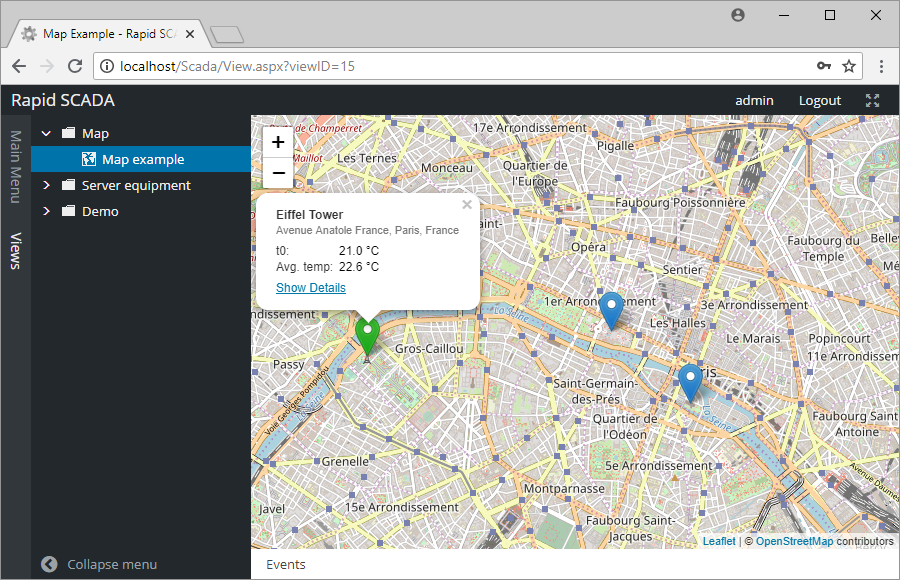
Map Plugin displays the status and parameters of locations on OpenStreetMap interactive maps. The plugin allows to monitor geographically distributed systems and navigate to the details page of a location.
First you need to perform the general sequence of installing plugins, and then perform several additional actions:
Map is a view in terms of Rapid SCADA. Creating and editing of maps is similar to work with scheme and table views.
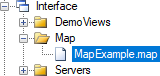
Display options and map locations are stored in a file with the map extension. A map file must be placed in the interface directory or its subdirectory within a project.
The plugin installation package contains an example of the map file SCADA\Interface\Map\MapExample.map. To edit map files, use any familiar text editor, for example, Notepad++. To create your own map, create a copy the example file with a new name and edit it. The name of the map file is arbitrary, the file extension is map.
The Tiling section contains parameters for connecting to a tile server. Tiles are used for composing a map background. There are tile servers from different vendors, both paid and free.
<Tiling>
  <UrlTemplate>https://{s}.tile.openstreetmap.org/{z}/{x}/{y}.png</UrlTemplate>
</Tiling>
The InitialView section specifies the initial coordinates and scale of the map. A scale is an integer from 0 to 18.
<InitialView>
    <Lat>48.861111</Lat>
    <Lon>2.336389</Lon>
    <Zoom>13</Zoom>
</InitialView>
The Locations section describes a set of locations that are displayed on the map. Let's consider an example:
<Locations>
  <Location>
    <Lat>48.858222</Lat>
    <Lon>2.2945</Lon>
    <Name>Eiffel Tower</Name>
    <Descr>Avenue Anatole France, Paris, France</Descr>
    <StatusCnlNum>0</StatusCnlNum>
    <Data>
      <DataItem cnlNum="101" />
      <DataItem cnlNum="115">Avg. temp</DataItem>
    </Data>
    <Link viewID="2" />
  </Location>
  ...
Lat и Lon - latitude and longitude of a map location,
Name - location name,
Descr - additional description,
StatusCnlNum - number of an input channel which means the status of this location; 0 - channel not specified; positive channel value means the location is normal, otherwise the location needs attention,
DataItem - displayed data item associated with an input channel,
Link - reference to a view that contains detailed information about the location.
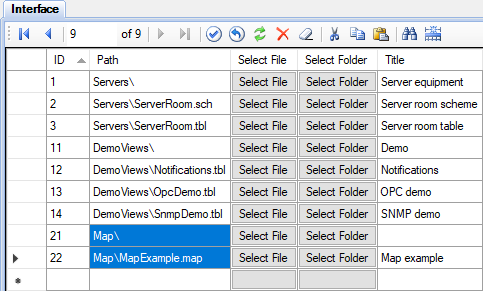
To make the map visible in the tree of views, it is necessary to register it in the Interface table using the Administrator application. Specify the path to the map file relative to the interface directory and enter the title which is the text of the tree node (see the figure).
To display the changes in the the Web Station application, upload the project to the server and re-login the web application. The result is: